Pokemon Pokopia has over 60 requests spread across the four main areas, and keeping track of them all is a challenge. Some are obvious — a Pokemon with a yellow chat bubble walks up to you and asks for help. Others are hidden behind Environment Level milestones, specific habitats, or items you might not discover until your second week of playing.
This guide lists every single request in the game: all 10 Important Requests that drive the main story plus every General Request organized by area. For each entry, you get the request name, the Pokemon who gives it, what you need to do, and what you earn for finishing it. If you want a detailed walkthrough of just the Important Requests, our Important Requests walkthrough goes step by step through each one.
How the Request System Works
Requests are Pokopia’s mission system. They come in two tiers:
- Important Requests (Gold Star) — Story-critical missions that unlock new areas, rebuild Pokemon Centers, and eventually lead to the end credits. There are exactly 10 of these.
- General Requests (Blue Icon) — Optional side missions from individual Pokemon. These reward Life Coins, crafting recipes, furniture blueprints, and sometimes rare items.
You pick up requests by talking to Pokemon with a yellow chat bubble floating above them. The bubble means they have something to ask you. Not every Pokemon gives a request — most are just there for habitat purposes — but the ones that do are easy to spot.
Once accepted, a request appears in your Request Log (accessible from the pause menu). You can pin one request at a time for a screen tracker. There are no time limits, no failure states, and no consequences for ignoring a request. You can come back to any request whenever you are ready.
Requests fall into three types:
| Type | What You Do | Example |
|---|---|---|
| Delivery | Bring a specific item or set of items to the requesting Pokemon | Deliver 5 Oran Berries to Chansey |
| Escort | Guide a Pokemon from one location to another | Walk Eevee from the plaza to the meadow |
| Favor | Complete a task like building something, planting crops, or clearing debris | Build a bench near the pond for Psyduck |
Most requests are delivery type, which makes them straightforward if you have the items on hand. Escort requests can be tricky because the Pokemon follows you and stops if you get too far ahead. Favor requests sometimes require building skills covered in our building guide.
All 10 Important Requests (Overview)
Here is a quick reference for every Important Request in the game. For the full detailed walkthrough with step-by-step strategies, see our Important Requests walkthrough.
| # | Request Name | Area | Requirement | Reward |
|---|---|---|---|---|
| 1 | Restore the Wasteland | Withered Wasteland | Reach Environment Level 2 | Access to building system |
| 2 | Rebuild Wasteland Pokemon Center | Withered Wasteland | Environment Level 3 + 8 Pokemon + 1000 Life Coins | Pokemon Center + PC shop |
| 3 | Wasteland Team Formation | Withered Wasteland | Environment Level 5 + complete area tasks | Story progression |
| 4 | Rebuild Beach Pokemon Center | Bleak Beach | Environment Level 3 + 8 Pokemon + 1000 Life Coins | Pokemon Center + PC shop |
| 5 | Beach Restoration Project | Bleak Beach | Environment Level 5 + complete area tasks | Story progression |
| 6 | Rebuild Ridges Pokemon Center | Rocky Ridges | Environment Level 3 + 8 Pokemon + 1000 Life Coins | Pokemon Center + PC shop |
| 7 | Ridges Restoration Project | Rocky Ridges | Environment Level 5 + complete area tasks | Story progression |
| 8 | Rebuild Skylands Pokemon Center | Sparkling Skylands | Environment Level 3 + 8 Pokemon + 1000 Life Coins | Pokemon Center + PC shop |
| 9 | Skylands Restoration Project | Sparkling Skylands | Environment Level 5 + complete area tasks | Story progression |
| 10 | Team Initiation Challenge | Withered Wasteland | All areas at Level 5 + 9 fetch quests | End credits + postgame |
The Team Initiation Challenge is the final Important Request and the longest one. It consists of 9 individual fetch quests that send you back through all four areas. Completing it rolls the credits and opens the postgame.
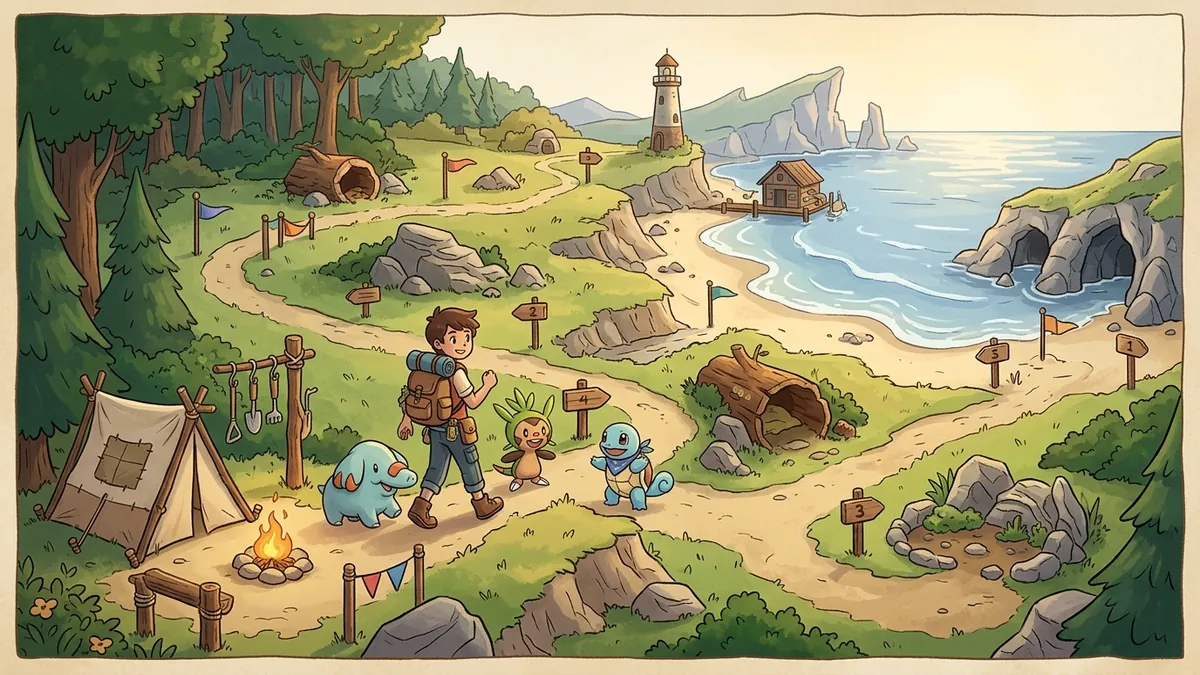
Withered Wasteland — General Requests
The Withered Wasteland is the first area and has the most General Requests. Many of these serve as tutorials for game mechanics.
| Request | Giver | Type | Requirements | Reward |
|---|---|---|---|---|
| Berry Delivery | Chansey | Delivery | Bring 5 Oran Berries | 100 Life Coins + Berry Basket recipe |
| Lost Scarf | Eevee | Escort | Lead Eevee to the bridge | 150 Life Coins + Eevee Scarf furniture |
| Pond Cleanup | Psyduck | Favor | Remove 10 debris blocks from the pond area | 100 Life Coins + Fishing Rod upgrade |
| Hungry Munchlax | Munchlax | Delivery | Bring any 3 cooked meals | 200 Life Coins + Munchlax’s Recipe Book |
| Garden Helper | Roselia | Favor | Plant 10 flowers near Roselia’s habitat | 150 Life Coins + Rare Flower Seeds x5 |
| Rock Collection | Geodude | Delivery | Bring 20 Stone Blocks | 100 Life Coins + Stone Carving recipe |
| Bedtime Story | Jigglypuff | Favor | Build a bed and place it in Jigglypuff’s room | 150 Life Coins + Lullaby Music Box |
| Digging Practice | Drilbur | Favor | Till 15 soil tiles with Rototiller | 100 Life Coins + Shovel upgrade |
| Secret Ingredient | Alcremie | Delivery | Bring Moomoo Milk + Sugar + Whipped Cream | 250 Life Coins + Alcremie Cake recipe |
| Night Watch | Hoothoot | Escort | Walk patrol route at night (8pm-6am) | 200 Life Coins + Night Vision Lantern |
| Weather Test | Castform | Favor | Set up Rain Dance once, then Sunny Day once | 200 Life Coins + Castform Weather Charm x1 |
| Bridge Builder | Machop | Favor | Build a wooden bridge over the eastern river | 300 Life Coins + Stone Bridge Blueprint |
| Treasure Hunt | Meowth | Delivery | Find 3 hidden Gold Nuggets in the area | 500 Life Coins |
| Comfort Request | Bulbasaur | Favor | Raise Bulbasaur’s Comfort Level to tier 3 | 200 Life Coins + Garden Arch Blueprint |
The Weather Test request from Castform is especially valuable because it rewards an extra Castform Weather Charm. If you have not tried the weather system yet, this request walks you through the basics. Our weather guide has the full breakdown of how Charms work.
Bleak Beach — General Requests
Bleak Beach opens after you complete the Withered Wasteland story. Requests here tend to involve water, fishing, and coastal building.
| Request | Giver | Type | Requirements | Reward |
|---|---|---|---|---|
| Shell Collection | Shellder | Delivery | Bring 10 Shells from the beach | 150 Life Coins + Shell Wind Chime |
| Sandcastle Dreams | Sandygast | Favor | Build a sandcastle structure (5x5x3 minimum) | 200 Life Coins + Sand Sculpture Blueprint |
| Fish Feast | Magikarp | Delivery | Catch and deliver 5 fish of any type | 150 Life Coins + Magikarp Crown furniture |
| Lighthouse Repair | Lanturn | Favor | Rebuild the broken lighthouse on the north cliff | 400 Life Coins + Lighthouse Blueprint |
| Tidal Pool Garden | Corsola | Favor | Build a tidal pool habitat with 3 Water-type decorations | 250 Life Coins + Coral Decoration set |
| Message in a Bottle | Pelipper | Escort | Follow Pelipper to 3 beach locations | 200 Life Coins + Bottle Ship furniture |
| Surfboard Craft | Pikachu (Surfing) | Delivery | Bring 10 Hardwood Planks + 5 Wax Items | 300 Life Coins + Surfboard Display |
| Seaweed Harvest | Tentacool | Delivery | Bring 15 Seaweed bundles | 150 Life Coins + Seaweed Salad recipe |
| Dock Builder | Slowpoke | Favor | Build a fishing dock (8+ blocks over water) | 350 Life Coins + Fishing Dock Blueprint |
| Pearl Diver | Clamperl | Delivery | Find 3 Deep Sea Pearls (underwater caves) | 500 Life Coins + Pearl Necklace display |
| Beach Party Setup | Alolan Raichu | Favor | Place 5 party decorations on the beach | 250 Life Coins + Beach Party Furniture set |
| Storm Chaser | Wingull | Escort | Follow Wingull through a rainstorm to find shelter | 200 Life Coins + Storm Shelter Blueprint |
The Lighthouse Repair request from Lanturn is one of the most rewarding General Requests in the game. The Life Coin payout is high, and the Lighthouse Blueprint lets you build functional lighthouses in any area — they provide light over a wide radius at night, which attracts nocturnal Pokemon.
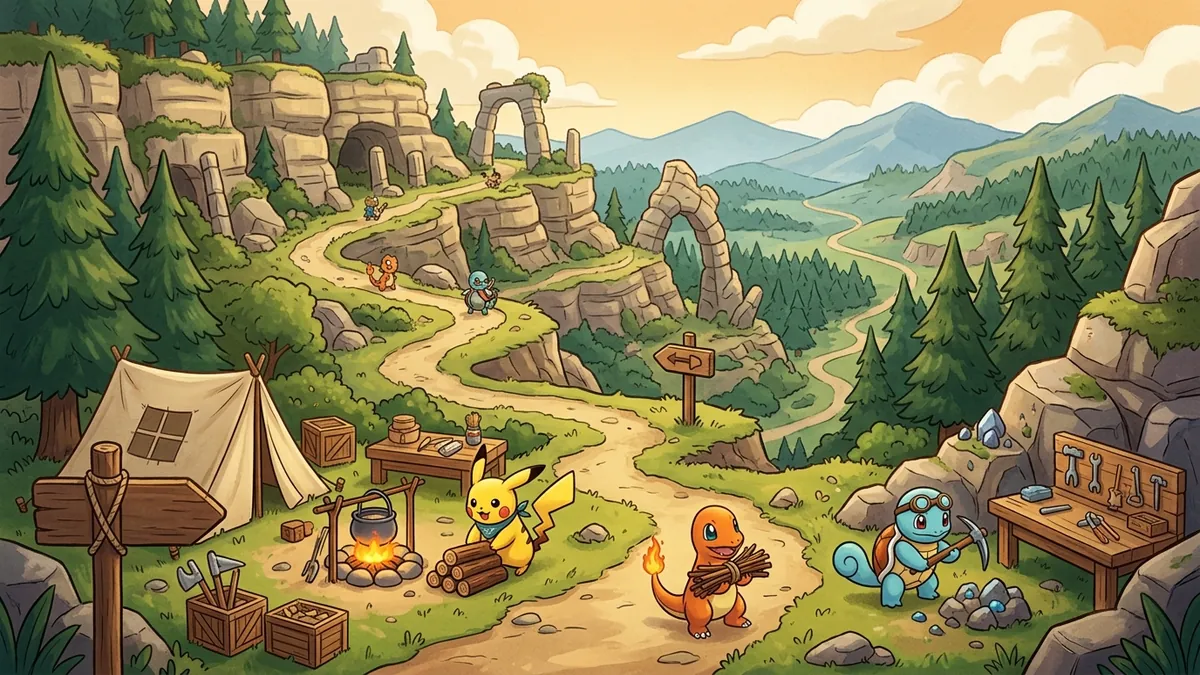
Rocky Ridges — General Requests
Rocky Ridges is the mountain area. Requests here focus on mining, cave exploration, and high-elevation building.
| Request | Giver | Type | Requirements | Reward |
|---|---|---|---|---|
| Ore Delivery | Aron | Delivery | Bring 15 Iron Ore | 200 Life Coins + Iron Furniture set |
| Cave Mapping | Zubat | Escort | Escort Zubat through the main cave system | 250 Life Coins + Cave Map item |
| Hot Spring Build | Torkoal | Favor | Build a hot spring (water + heated stone blocks) | 350 Life Coins + Hot Spring Blueprint |
| Crystal Hunt | Sableye | Delivery | Find 5 Crystal Shards in cave walls | 300 Life Coins + Crystal Lamp recipe |
| Mountain Path | Golem | Favor | Build stairs connecting the lower and upper ridges | 300 Life Coins + Stone Staircase Blueprint |
| Gem Collection | Carbink | Delivery | Bring 3 each of Ruby, Sapphire, and Emerald Shards | 400 Life Coins + Gem Display Case |
| Minecart Track | Dugtrio | Favor | Build a minecart track through the main tunnel | 500 Life Coins + Minecart Rail Blueprint |
| Sunset Viewpoint | Altaria | Favor | Build a viewing platform on the highest peak | 300 Life Coins + Telescope furniture |
| Fossil Discovery | Cranidos | Delivery | Bring 3 Fossils (found while mining) | 350 Life Coins + Fossil Display Blueprint |
| Lava Crossing | Magcargo | Favor | Build a bridge over the lava flow in the deep cave | 400 Life Coins + Volcanic Stone blocks x50 |
| Echo Chamber | Whismur | Favor | Build an enclosed room in the cave (10x10 minimum) | 250 Life Coins + Music Box furniture |
The Minecart Track request from Dugtrio is the standout here. The 500 Life Coins reward is among the highest for General Requests, and the Minecart Rail Blueprint unlocks a rideable minecart system you can use as fast transport through cave networks.
Sparkling Skylands — General Requests
Sparkling Skylands is the final area, set high above the clouds. Requests lean toward advanced building, rare Pokemon, and endgame items.
| Request | Giver | Type | Requirements | Reward |
|---|---|---|---|---|
| Cloud Garden | Altaria | Favor | Build a floating garden using Cloud Blocks | 350 Life Coins + Cloud Block recipe |
| Star Fragments | Clefairy | Delivery | Bring 5 Star Fragments (night-only drops) | 300 Life Coins + Star Fragment Lamp |
| Sky Bridge | Braviary | Favor | Build a bridge connecting two floating platforms | 400 Life Coins + Suspension Bridge Blueprint |
| Rainbow Materials | Togekiss | Delivery | Bring one block of each Rainbow Dye color (7 total) | 500 Life Coins + Rainbow Arch Blueprint |
| Wind Chime Garden | Chimecho | Favor | Place 5 Wind Chimes in an outdoor area | 250 Life Coins + Crystal Wind Chime recipe |
| Aurora Watch | Glaceon | Escort | Follow Glaceon to 3 viewpoints during night | 300 Life Coins + Aurora Lamp furniture |
| Skyline Terrace | Swellow | Favor | Build a terrace overlooking the clouds (20+ blocks) | 350 Life Coins + Terrace Railing Blueprint |
| Comet Trail | Jirachi | Delivery | Bring a Wishing Star + 3 Stardust | 1000 Life Coins + Jirachi’s Wish Lamp |
| Music Hall | Meloetta | Favor | Build a concert hall with stage and seating (15x20 room) | 500 Life Coins + Music Hall Furniture set |
| Feather Collection | Pidgeot | Delivery | Bring 10 Colorful Feathers from treetop nests | 250 Life Coins + Feather Quill furniture |
Jirachi’s Comet Trail request gives the highest Life Coin reward of any General Request at 1000 coins. The Wishing Star item is rare — it only appears in Dream Island runs and from one specific night-time spawn point in Sparkling Skylands.
Global Requests
A few requests are not tied to any specific area. These become available at certain progression milestones.
| Request | Giver | Type | Requirements | Reward |
|---|---|---|---|---|
| The Traveling Chef | Munchlax (Global) | Delivery | Cook one dish from each area’s specialty cuisine | 500 Life Coins + Master Chef Apron |
| Pokedex Progress | Professor (NPC) | Delivery | Register 100 Pokemon in your Pokedex | Shiny Charm item |
| Pokedex Master | Professor (NPC) | Delivery | Register 250 Pokemon in your Pokedex | Golden Pokedex Display |
| Dream Explorer | Drifloon | Favor | Complete 10 Dream Island runs | 300 Life Coins + Dream Island Voucher x3 |
| The Collector | Smeargle | Delivery | Deliver 50 unique furniture items (placed in your areas) | 500 Life Coins + Smeargle’s Easel |
| Builder’s Challenge | Alakazam | Favor | Build structures in all 4 areas (10+ blocks each) | 400 Life Coins + Master Builder Badge |
The Shiny Charm from the Pokedex Progress request at 100 Pokemon is extremely important. It permanently increases the chance of finding shiny variants of Pokemon across the entire game. Prioritize your Pokedex count and use our all Pokemon locations guide to track down species efficiently.
Tips for Completing Requests Efficiently
Check every yellow bubble. After raising your Environment Level, revisit the area thoroughly. New requests often unlock at Level milestones (2, 3, 4, 5, etc.) and the requesting Pokemon might spawn in a spot you do not pass by regularly.
Hoard common materials. Many delivery requests ask for basic items like Stone Blocks, Iron Ore, Berries, and Hardwood Planks. Keep a stockpile of 20-30 of each in your storage to avoid scrambling.
Accept everything immediately. There is no downside to accepting a request you are not ready to finish. Having it in your Request Log means you can work toward it passively while doing other things.
Prioritize high-reward requests. If you need Life Coins, focus on the 300+ coin requests first. The Minecart Track (500), Jirachi’s Comet Trail (1000), and Rainbow Materials (500) are the best payouts. Our Life Coins farming guide has more strategies for building wealth quickly.
Escort requests need patience. The Pokemon following you walks slower than your sprint speed. Stay at a walking pace and check behind you every few seconds. If the Pokemon stops, walk back to it and it will resume following.
Build requests count existing structures. If a request asks you to build a bench near a pond and you already placed one there, the game recognizes it. You do not need to demolish and rebuild.
Use the Environment Level tracker. Many requests gate behind Environment Level. If you are not seeing new requests in an area, your next step is raising the Environment Level. Our Environment Level guide covers the fastest methods.
Request Completion Rewards Summary
Here is what you can expect in total from completing every request in the game:
| Reward Type | Approximate Total |
|---|---|
| Life Coins | ~15,000+ across all requests |
| Unique Blueprints | 25+ exclusive furniture and structure blueprints |
| Crafting Recipes | 15+ unique recipes not available elsewhere |
| Special Items | Shiny Charm, Night Vision Lantern, Fishing Rod upgrade, Castform Charms |
| Furniture Sets | 8+ complete themed furniture collections |
Completing every request is one of the requirements for 100% completion. Our tips and tricks guide covers other milestones you need for the completionist badge.
FAQ
How many requests are in Pokemon Pokopia? There are 10 Important Requests and over 50 General Requests, totaling roughly 65 missions across all four areas plus a few global ones.
What is the difference between Important and General Requests? Important Requests are story-critical missions marked with a gold star. General Requests are optional side missions marked with blue icons that give rewards like Life Coins, recipes, and items.
How do I find new requests in Pokopia? Look for Pokemon with yellow chat bubbles above their heads. Walk up and talk to them to accept the request. Some requests only appear after reaching certain Environment Levels.
Can I fail a request in Pokopia? No. Requests have no time limits and no failure conditions. You can take as long as you need to complete them.
Do General Requests need to be completed to beat the game? No. Only the 10 Important Requests are required for story completion. General Requests are optional but give valuable rewards.
What are the best rewards from General Requests? The most valuable rewards include rare crafting recipes, Castform Weather Charms, unique furniture blueprints, and large Life Coin payouts (500-1000 coins).
How do I track active requests in Pokopia? Open the Request Log from the pause menu. You can pin one request at a time to display a tracker in the top-right corner of the screen.
Do requests reset or repeat in Pokopia? No. Each request is a one-time mission. Once completed, it is marked as done in your Request Log and cannot be repeated.