The Environment Level is the single most important progression metric in Pokemon Pokopia. Every region you visit has its own Environment Level, and raising it unlocks new Pokemon, new requests, new buildings, and eventually the end credits. If you have been placing habitats and planting trees but the meter barely moves, you are not alone — the system has more depth than the game explains upfront.
This guide breaks down exactly how Environment Level works, what feeds into it, and the fastest strategies to push each area to Level 5 (and beyond). Whether you are stuck at Level 2 in Galebrook or trying to max out every zone to Level 10, everything you need is here.
What Is Environment Level and Why It Matters
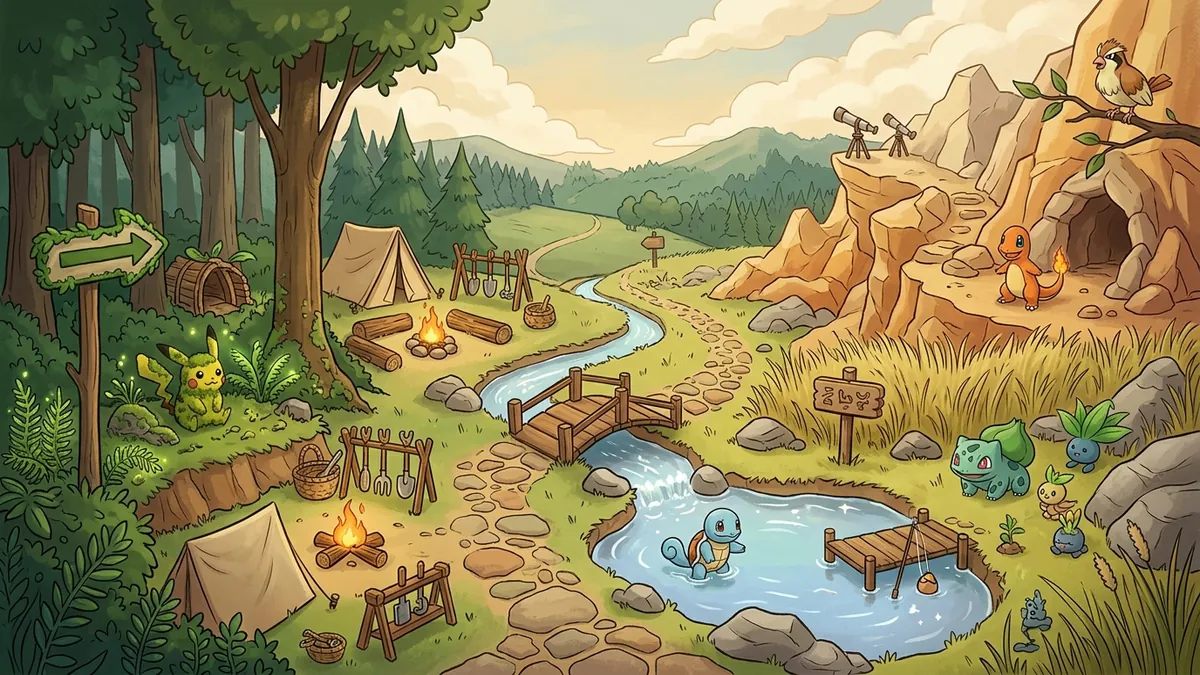
Environment Level is a per-area score that tracks how well you have restored that region. Each of the four main towns — Verdant Hollow, Galebrook, Amber Ridge, and Crystal Shores — has its own independent Environment Level that ranges from 1 to 10.
The number reflects three things combined: how many Pokemon live in the area, how comfortable those Pokemon are, and how much you have restored the natural landscape (greenery, water, and air quality). Raise all three, and the meter climbs.
Here is why it matters for progression:
- Level 3 unlocks the Pokemon Center repair request, giving you access to healing and the PC shop in that area.
- Level 5 in all four towns is the requirement to reach the end credits and finish the main story.
- Levels 6-10 unlock post-game content, rare Pokemon spawns, and special building blueprints.
If you are just starting out and the system feels confusing, our beginner guide covers the basics of how Pokopia works before diving into Environment Level specifics.
How Environment Level Is Calculated
The game does not show you a formula, but after extensive testing, here is how the Environment Level score breaks down behind the scenes.
Three main factors feed into it:
1. Total Pokemon Comfort — This is the biggest contributor. Every Pokemon living in the area has a Comfort Level, and the sum of all those Comfort Levels is the largest slice of your Environment score. A single Pokemon at max comfort contributes more than three Pokemon at the lowest tier.
2. Habitat and Building Diversity — The number and variety of habitats and houses you have built matters. Having five of the same basic habitat counts for less than having five different types. The game rewards you for building a balanced ecosystem rather than spamming one structure.
3. Landscape Restoration — Planting trees, restoring grass, watering dry patches, and cleaning polluted water sources all push the score upward. This factor is smaller than Pokemon Comfort but adds up, especially in areas that start heavily degraded like Amber Ridge.
The takeaway: if you want fast Environment Level gains, focus on Pokemon Comfort first. Landscape restoration is a nice bonus, but getting more Pokemon happier is the main lever.
Understanding Comfort Levels — The Core System
Every Pokemon that moves into your area has a Comfort Level. This is separate from friendship — a Pokemon can be your best friend and still have low comfort if its living conditions are poor.
Comfort Level has four tiers:
| Tier | Name | Visual Indicator | Effect |
|---|---|---|---|
| 1 | Uneasy | Grey cloud icon | Minimal Environment contribution |
| 2 | Content | Green leaf icon | Moderate contribution |
| 3 | Happy | Yellow sun icon | Strong contribution |
| 4 | Blissful | Pink heart icon | Maximum contribution |
Pokemon start at Tier 1 when they first arrive. Moving them up through the tiers requires fulfilling their specific needs, which fall into five categories:
- Shelter quality — Are they in a habitat or a house? What furniture is inside?
- Temperature — Does the room match their preferred climate?
- Humidity — Some Pokemon want damp environments, others want dry.
- Lighting — Dark-type Pokemon prefer dim rooms; Grass types want sunlight.
- Food preference — Each Pokemon has a preferred flavor (bitter, spicy, sweet, sour, or dry).
You can check any Pokemon’s current comfort and what they want by interacting with them and selecting “How are things?” from the dialogue menu. A checklist appears showing which needs are met and which are not.
For a detailed look at where to find specific Pokemon and their type preferences, check the full Pokemon locations guide.
Habitats vs. Houses — Which One Should You Build?
This is the biggest decision that affects how fast your Environment Level rises. Both habitats and houses attract Pokemon, but they work differently.
Habitats are outdoor structures you place on the ground. They are cheap to build, require fewer materials, and can house 1-3 Pokemon depending on the size. The catch is that habitats have limited comfort ceilings — Pokemon living in a basic habitat can only reach Tier 2 (Content) comfort at best.
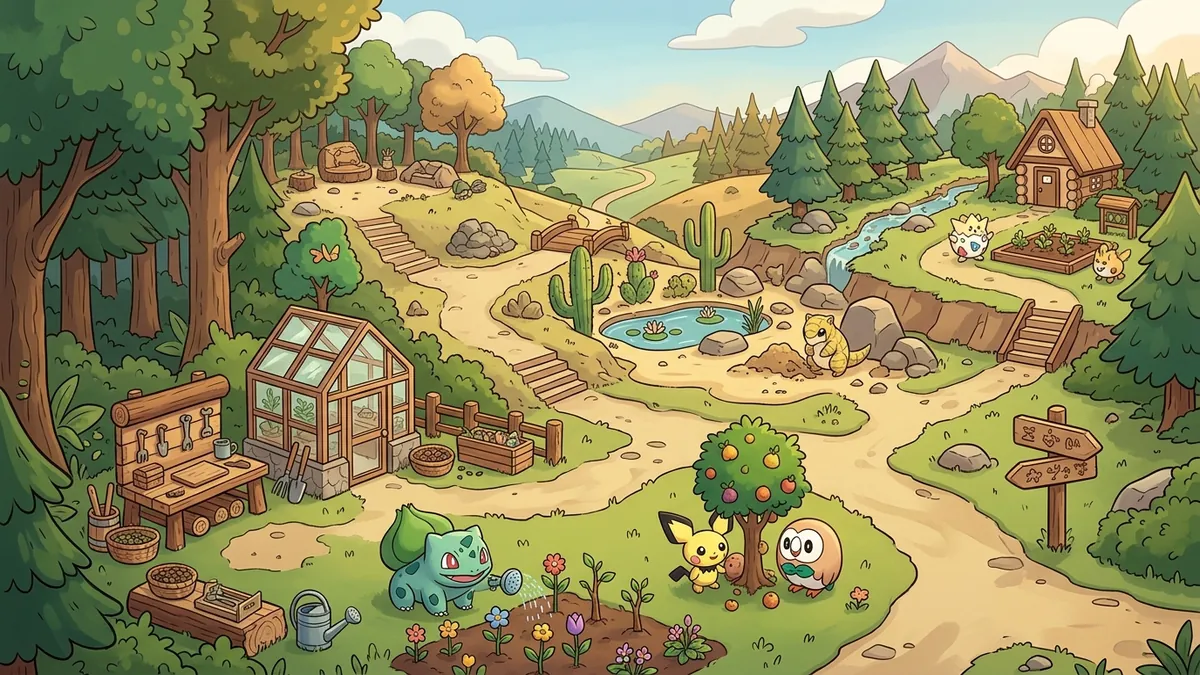
Houses are full indoor structures with walls, floors, and a roof. They take more materials and time to build, but Pokemon living inside a house can reach Tier 4 (Blissful) comfort. Houses also let you place furniture, adjust temperature and humidity settings, and customize lighting — all of which directly increase comfort.
The math is straightforward: a single Pokemon at Tier 4 comfort in a house contributes roughly the same Environment Level points as three Pokemon at Tier 2 in habitats. If you want to raise your Environment Level fast, prioritize building houses over habitats.
That said, habitats still serve a purpose. They are the fastest way to attract new Pokemon to an area when you are starting from nothing. The recommended approach is:
- Place habitats early to attract your first wave of Pokemon.
- Build houses as soon as you have the materials.
- Move Pokemon from habitats into houses one by one.
- Tear down empty habitats and replace them with more houses or greenery.
Our building guide covers house construction in detail, including efficient floor plans and material-saving techniques.
Raising Comfort Level Fast — Step by Step
Getting Pokemon from Tier 1 to Tier 4 comfort is the fastest path to high Environment Levels. Here is how to do it efficiently.
Step 1: Build a Proper House
Start with a house that has at least a 4x4 interior. Smaller rooms work, but they limit how much furniture you can place and make it harder to fine-tune the environment settings. Use the materials that match the area’s aesthetic if you want — the game does not penalize you for using wood in a stone-themed region.
Step 2: Match the Pokemon’s Preferred Climate
Open the house settings panel and adjust temperature and humidity. Fire-type Pokemon generally want warm and dry rooms. Water types prefer cool and humid. Grass types like moderate temperature with high humidity. Check each Pokemon’s preference card for exact targets.
Getting temperature and humidity right alone is often enough to push a Pokemon from Tier 1 to Tier 2.
Step 3: Add the Right Furniture
Each Pokemon has furniture preferences listed in their comfort checklist. Some want a bed, some want a shelf, and some want specific decorative items. You do not need to fill the entire room — just place the two or three items they specifically request.
Crafting furniture requires materials you gather through farming and exploration, so keep your crafting bench stocked and your farm running.
Step 4: Feed Their Preferred Flavor
Pokemon in Pokopia have food preferences tied to five flavors: bitter, spicy, sweet, sour, and dry. Feeding a Pokemon food that matches their preferred flavor gives a comfort boost that lasts several in-game days. Feeding them a disliked flavor does nothing negative, but wastes the food.
A few common preferences to remember:
- Fire types tend to prefer spicy food.
- Grass types lean toward bitter.
- Water types usually want dry food (counterintuitive, but consistent).
- Normal types vary — always check the preference card.
Cook dishes that match the preferred flavor and deliver them directly to the Pokemon in their house. One feeding per day is enough to maintain the comfort bonus.
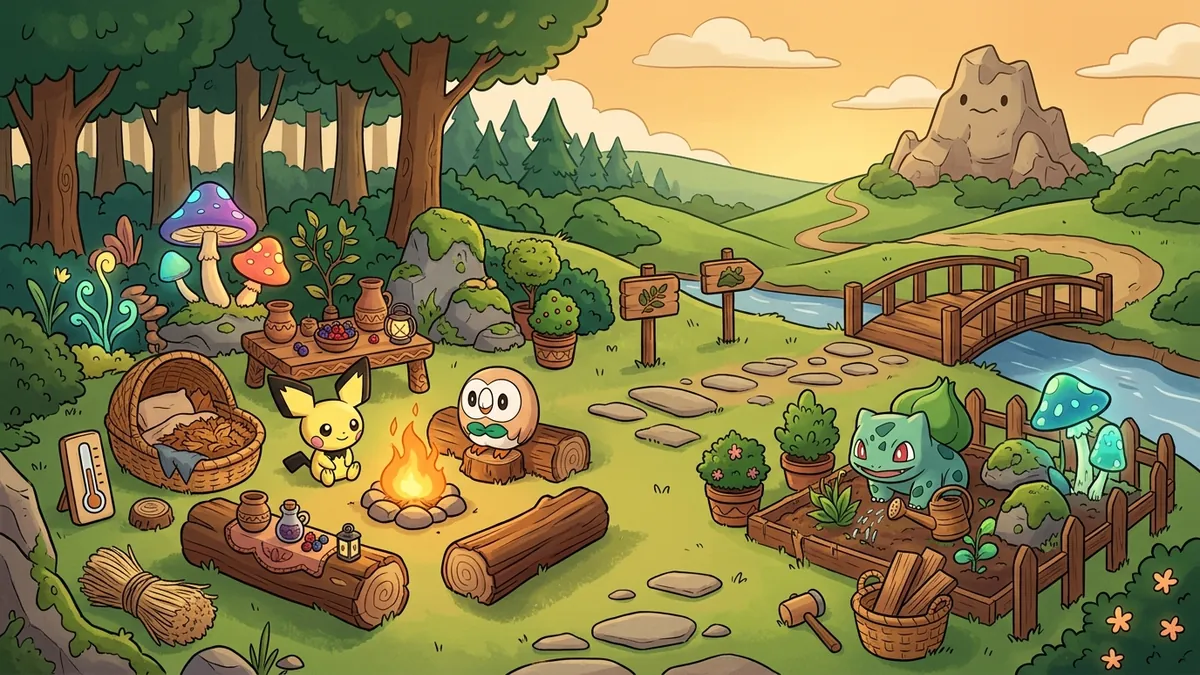
Step 5: Play Mini-Games Together
Once a Pokemon is at least Tier 2 comfort, it will occasionally invite you to play a mini-game. These include:
- Jump Rope — Time your button presses to match the Pokemon’s rhythm. Longer streaks give bigger comfort boosts.
- Hide and Seek — The Pokemon hides somewhere in the area and you have a time limit to find it. Checking behind buildings and inside tall grass usually works.
- Quizzes — The Pokemon asks you trivia questions about the world. Answers come from item descriptions and NPC dialogue, so pay attention to what you read.
Completing mini-games gives a noticeable bump to the Pokemon’s comfort. It is not a huge amount per game, but doing them consistently adds up over time. Mini-games also increase friendship, which unlocks new dialogue and requests.
Restoring the Landscape for Extra Points
While Pokemon Comfort is the main driver, landscape restoration fills in the gaps and can push you over the threshold when you are close to the next level.
Here is what counts toward landscape restoration:
Planting trees and flowers — Use seeds from your farm or buy them at the shop. Place them in bare dirt areas where the ground looks dead. Trees take several in-game days to grow but contribute more than flowers.
Watering dry patches — Use a Water-type Pokemon’s ability or a watering can to hydrate parched ground. The soil gradually turns green over the next day or two.
Cleaning polluted water — Some areas have murky ponds or streams. Use the Purify crafted item (unlocked at Environment Level 2) to clean them up. Restored water sources attract Water-type Pokemon you would not otherwise see.
Removing debris — Broken structures, fallen logs, and scattered rubble can be cleared with your Ditto Inhale ability or by assigning a Pokemon to clean-up duty. Cleared land counts toward restoration.
Amber Ridge benefits the most from landscape work because it starts as the most degraded area. If you are stuck on Environment Level in that zone specifically, focus on watering and planting before worrying about more houses.
Completing Requests for Environment Boosts
Requests are tasks that NPCs and Pokemon give you. Some of these directly reward Environment Level points when completed. You can see available requests on the bulletin board in each town’s center.
The most impactful request types for Environment Level are:
- Building requests — “Build a habitat for [Pokemon type]” or “Construct a new shop.” These give large one-time Environment boosts.
- Restoration requests — “Plant 10 trees in the western field” or “Clean the river.” Direct landscape restoration with bonus points on top.
- Comfort requests — “Help [Pokemon] feel more at home.” These walk you through improving a specific Pokemon’s comfort and give extra points when complete.
Prioritize building and restoration requests over fetch quests. Fetch quests (bring me 5 berries, deliver this letter) give friendship and items but do not move the Environment Level.
For more ways to optimize your daily routine around these requests, our tips and tricks guide has a full section on request prioritization.
Environment Level Milestones and Rewards
Each Environment Level unlocks specific rewards and progression gates. Here is the full breakdown across all areas:
| Level | Unlock |
|---|---|
| 1 | Starting state — basic building and crafting available |
| 2 | Purify recipe, new habitat blueprints, expanded shop inventory |
| 3 | Pokemon Center repair request, advanced crafting recipes |
| 4 | Rare Pokemon begin appearing, house upgrade blueprints |
| 5 | Story progression gate — needed in all four towns for credits |
| 6 | Post-game requests unlock, new furniture sets |
| 7 | Legendary Pokemon hints begin appearing |
| 8 | Advanced house customization options, rare seed shop |
| 9 | Special NPC visitors, final building blueprints |
| 10 | Area fully restored — achievement unlocked, unique cosmetic rewards |
Reaching Level 5 in all four towns is the most important milestone for most players. After that, pushing to 10 is a completionist goal that rewards you with cosmetic items and bragging rights more than gameplay-critical unlocks.
Fastest Route to Level 5 in Every Town
If your goal is to reach the credits, here is the most efficient order of operations:
Start with Verdant Hollow. Our Withered Wasteland walkthrough covers the optimal path through this starting region. It is the first area and the easiest to level because it starts with the most greenery already intact. Build 3-4 houses, move Pokemon in, get them to Tier 3 comfort, and do the restoration requests. You should hit Level 5 here before any other area.
Move to Crystal Shores second. Water types are easy to keep comfortable because the area already has high humidity. Focus on building houses near the shoreline and feeding Water-type Pokemon their preferred dry-flavor foods.
Tackle Galebrook third. This area has temperature extremes that make comfort management harder. Build houses with heating elements first, then move Pokemon in. Fire types thrive here with minimal adjustment.
Save Amber Ridge for last. It is the most degraded area with the lowest starting greenery. You will need to combine aggressive landscape restoration with house building. Plant trees early because they take time to grow. By the time you arrive here, you should have enough crafting recipes and materials to build efficient houses quickly.
Within each town, follow this priority checklist:
- Clear debris with Inhale.
- Plant trees and water dry ground.
- Build 2 basic habitats to attract initial Pokemon.
- Build your first house and move the highest-potential Pokemon in.
- Fulfill that Pokemon’s comfort checklist to reach Tier 3.
- Repeat: build house, move Pokemon, raise comfort.
- Complete every building and restoration request on the bulletin board.
- Play mini-games whenever Pokemon offer them.
Following this pattern, most players can reach Level 5 in all four towns within 25-35 hours of gameplay.
Common Mistakes That Slow You Down
A few pitfalls trip up players who are trying to raise their Environment Level:
Building too many habitats instead of houses. Habitats are quick and cheap, but the comfort ceiling of Tier 2 means diminishing returns fast. Switch to houses as soon as your crafting level allows.
Ignoring food preferences. Feeding Pokemon random food gives no comfort bonus. Take 30 seconds to check the preference card and cook the right flavor. The daily comfort boost from food is one of the easiest gains in the game.
Spreading across all four towns at once. Focus on one town at a time. Resources and energy (PP) are limited, and splitting your attention means slower progress everywhere. Finish one area to Level 5 before moving on.
Skipping mini-games. They seem like a small bonus, but the comfort boost from mini-games stacks with everything else. Jump rope and hide-and-seek take under a minute each and the payoff is real.
Forgetting landscape restoration in Amber Ridge. In the other three towns, Pokemon Comfort alone can carry you to Level 5. Amber Ridge starts so degraded that you need landscape points too. Plant early and water often.
Beyond Level 5 — Pushing to Level 10
After the credits roll, reaching Level 10 in every area becomes the long-term goal. The path from 5 to 10 requires more of everything: more Pokemon, higher comfort tiers, and nearly full landscape restoration.
At this stage, focus on:
- Moving every Pokemon in the area into a fully furnished house at Tier 4 (Blissful) comfort.
- Planting every available patch of land with trees or flowers.
- Cleaning all water sources and removing every piece of debris.
- Completing all post-game requests, which become available at Level 6.
- Attracting rare Pokemon that only appear at higher Environment Levels — they contribute more comfort points per unit than common Pokemon.
The jump from Level 9 to Level 10 is the steepest. You essentially need a perfect area with every Pokemon at maximum comfort and every tile of land restored. It is a satisfying grind for completionists, but do not stress about it during the main story.
FAQ
What is the max Environment Level in Pokemon Pokopia? The maximum Environment Level is 10 in each area.
What Environment Level do I need to beat the game? You need Level 5 in all four main towns to reach the end credits.
How do I unlock the Pokemon Center rebuild? Raise your area’s Environment Level to 3 to unlock the Pokemon Center repair request.
What’s the fastest way to raise Environment Level? Move Pokemon into houses instead of habitats, complete their comfort requests, and build diverse habitats to attract new Pokemon.
How does Comfort Level affect Environment Level? Each Pokemon’s Comfort Level contributes to the area’s overall Environment Level. Higher comfort across more Pokemon means a higher environment score.
What are the Comfort Level tiers? There are four Comfort Level tiers. Pokemon start at the lowest tier and increase as you fulfill their requests for furniture, temperature, humidity, light, and food.
Do mini-games help raise Environment Level? Yes, playing mini-games like jump rope, hide-and-seek, and quizzes with Pokemon increases their Comfort Level.
Does planting trees help Environment Level? Yes, restoring greenery, planting trees, and watering dry areas all contribute to raising Environment Level.