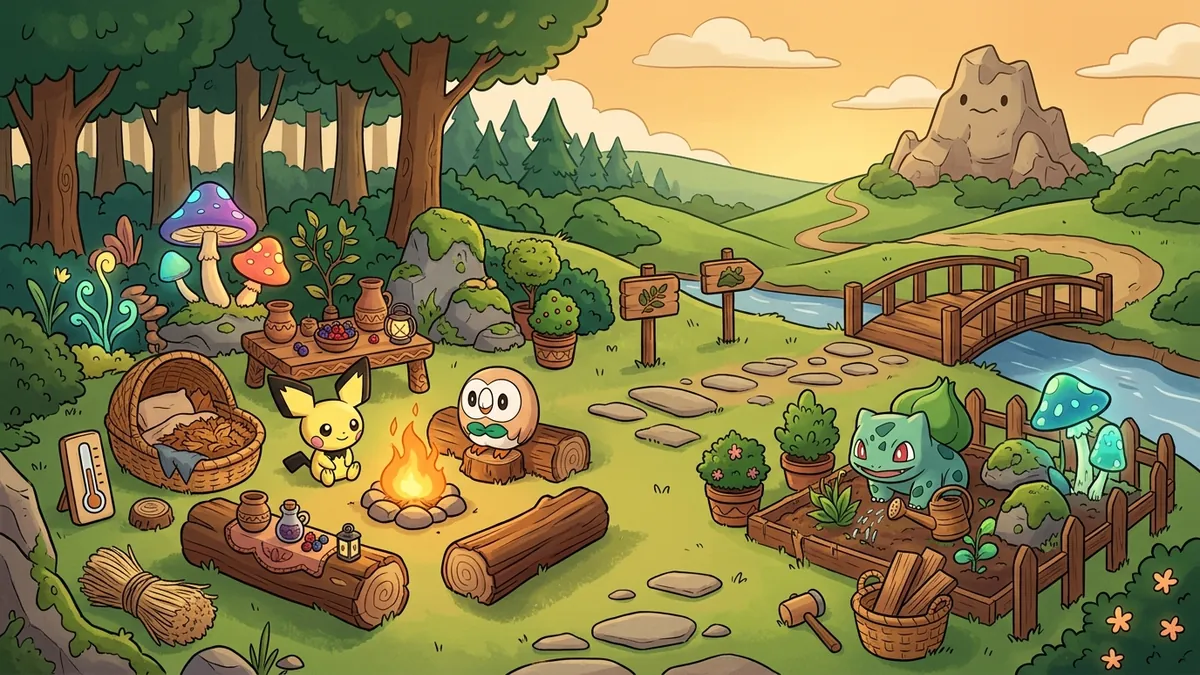
Pokemon Pokopia has 9 main furniture categories spread across roughly 180 craftable items. The categories define how each piece contributes to comfort scoring, which Pokemon are attracted to which decorations, and which achievement counts increment when you place a piece. Most players treat furniture as cosmetic, but the underlying mechanics are deeper than they look — and a 90 comfort target like Rayquaza’s habitat is impossible without understanding category weightings.
This guide breaks down all 9 furniture categories, what counts as furniture (and what does not), the comfort impact of each category, and which sets boost specific Pokemon. For habitat building basics, see our building guide, and for the comfort-level mechanics specifically see comfort level furniture guide.
What Counts as Furniture in Pokopia
The game uses a strict definition for what counts as furniture. Furniture items are any decoration that:
- Has a “Furniture” tag in the inventory category panel
- Contributes to comfort scoring when placed
- Counts toward the Furniture-Maker achievement family
- Can be placed in a player-designated room
These do NOT count as furniture even though they look like decorations:
- Crafting stations (forge, kitchen, workbench) — they are tools, not furniture
- Storage chests — separate category, see storage guide
- Plants in tilled plots — they are crops, not furniture (potted plants do count)
- Character cosmetics — your hat or robe is gear, not furniture
- Habitat structural elements (walls, floors) — they are construction, not furniture
- Pokemon habitats themselves — each habitat is its own category
This distinction matters because the Furniture-Maker achievement requires 100 furniture pieces placed across the island, and players who count crafting stations or storage chests come up short.
The 9 Furniture Categories
1. Seating
| Item | Comfort | Tier | Source |
|---|---|---|---|
| Wooden Stool | +1 | Basic | Crafting Lv1 |
| Cushion Chair | +2 | Basic | Crafting Lv2 |
| Ridge Bench | +3 | Mid | Rocky Ridges quest |
| Driftwood Throne | +5 | Mid | Bleak Beach Day 1 (missable!) |
| Cloud Cushion | +5 | Late | Skylands recipe |
| Cosmic Throne | +12 | End | Postgame craft |
Seating is the most placed category — most players have 8-15 seating items per room. The comfort caps at 6 seating pieces per room (additional pieces still count for placement achievements but stop adding comfort).
2. Beds
| Item | Comfort | Tier | Source |
|---|---|---|---|
| Wooden Cot | +2 | Basic | Crafting Lv1 |
| Soft Bed | +4 | Basic | Crafting Lv2 |
| Ridges Hearth Bed | +6 | Mid | Rocky Ridges craft |
| Cloud Bed | +8 | Late | Skylands recipe |
| Wish Bed (Jirachi-blessed) | +15 | End | Wish-Maker mechanic |
Beds also cap at 1 per room — placing two beds removes the comfort bonus from the second. The exception is “guest rooms” which Pokemon use during long visits.
3. Tables
| Item | Comfort | Tier | Source |
|---|---|---|---|
| Wooden Table | +1 | Basic | Crafting Lv1 |
| Polished Table | +3 | Basic | Crafting Lv3 |
| Driftwood Table | +4 | Mid | Bleak Beach craft |
| Volcanic Table | +5 | Mid | Rocky Ridges craft |
| Cosmic Table | +10 | End | Postgame craft |
Tables interact with cooking — placing a table in a kitchen room boosts cooking speed by 5%. This is one of the few cross-system furniture effects.
4. Lighting
| Item | Comfort | Tier | Source |
|---|---|---|---|
| Basic Lantern | +1 | Basic | Crafting Lv1 |
| Lava Lamp | +8 | Mid | Rocky Ridges (missable recipe!) |
| Sea Glass Lantern | +6 | Mid | Bleak Beach craft |
| Wind Chime | +3 | Mid | Bleak Beach (rain bonus +10) |
| Star Lantern | +8 | Late | Skylands craft |
| Cosmic Light Orb | +12 | End | Postgame craft |
Lighting is the most efficient comfort category per craft cost. The Wind Chime is a special case — it adds +10 comfort during rain weather, which is why Lugia’s habitat needs Wind Chimes specifically.
5. Storage
| Item | Comfort | Tier | Source |
|---|---|---|---|
| Basic Chest | 0 (utility) | Basic | Crafting Lv1 |
| Decorative Chest | +1 | Basic | Crafting Lv2 |
| Carved Chest | +2 | Mid | Rocky Ridges craft |
| Ornate Chest | +3 | Mid | Bleak Beach craft |
| Cosmic Vault | +5 | End | Postgame craft |
Storage technically counts as furniture for placement but the basic chests are utility-tier. Decorative variants give comfort. See our storage guide for the full storage system.
6. Wall Decor
| Item | Comfort | Tier | Source |
|---|---|---|---|
| Basic Painting | +1 | Basic | Crafting Lv1 |
| Tapestry | +2 | Basic | Crafting Lv2 |
| Stormbreaker Charm | +3 | Mid | Bleak Beach Day 1 (missable!) |
| Heatran Tribute Plaque | +4 | Mid | Pre-Heatran (missable!) |
| Ember Crystal | +10 | Mid | Cave Lv3+ |
| Storm Crystal | +12 | Late | Skylands craft |
| Starlight Shard | +8 | Late | Pre-Jirachi craft |
| Prism Mirror | +12 | Late | Skylands (+5 starfield) |
Wall decor is where the highest-comfort pieces live for cave and sky habitats. The Prism Mirror is unique — it reflects the starfield effect for an extra +5 burst on clear nights.
7. Floor Decor
| Item | Comfort | Tier | Source |
|---|---|---|---|
| Wool Rug | +1 | Basic | Crafting Lv1 |
| Patterned Rug | +2 | Basic | Crafting Lv2 |
| Volcanic Tile | +3 per 4-block area | Mid | Rocky Ridges craft |
| Sea Glass Tile | +3 per 4-block area | Mid | Bleak Beach craft |
| Cosmic Tile | +2 per 4-block area | Late | Skylands craft |
| Heated Stone Slab | +6 | Mid | Rocky Ridges craft |
Floor decor scales by area for some items. A 4x4 Cosmic Tile installation gives +8 total, while individual pieces give +2.
8. Plants (Decorative)
| Item | Comfort | Tier | Source |
|---|---|---|---|
| Potted Plant (basic) | +1 | Basic | Crafting Lv1 |
| Flower Vase | +2 | Basic | Crafting Lv2 |
| Bonsai Tree | +4 | Mid | Quest reward |
| Time Flower | +5 | Mid | Pre-Celebi craft |
| Ancient Root | +6 | Mid | Pre-Celebi craft |
| Moonlight Berry Bush (decorative) | +5 | Late | Skylands craft |
Decorative plants are different from crops in tilled plots. The same plant species can have a “potted” version (furniture) and a “planted” version (crop) with different mechanics.
9. Specialty
This category is the catchall for unique items that do not fit elsewhere.
| Item | Comfort | Tier | Source |
|---|---|---|---|
| Driftwood Perch | +4 | Mid | Bleak Beach craft |
| Crystal Spire Fragment | +6 | Mid | Skylands quest (missable!) |
| Crystal Spire Perch | +20 | Late | Pre-Rayquaza craft |
| Moonstone Pedestal | +20 | Late | Pre-Jirachi craft |
| Thunder Rod | +5 | End | Pre-Rayquaza craft (active in rain) |
| Wind Catcher | +3 | Late | Sky habitat staple |
Specialty items are usually tied to specific legendary spawn requirements. The Thunder Rod and Moonstone Pedestal are the trigger items for Rayquaza and Jirachi respectively.
Furniture Sets and the Set Bonus
Each crafted collection has a “Set” tag. When you place 3+ pieces from the same set in one room, you get a +5 comfort bonus on top of the individual piece values.
Major sets:
- Wasteland Pioneer Set — 5 pieces, available from Withered Wasteland crafting
- Ridges Forge Set — 7 pieces, available from Rocky Ridges crafting
- Coastal Restoration Set — 6 pieces, available from Bleak Beach crafting
- Skyline Cosmic Set — 8 pieces, available from Skylands crafting
- Festival Set — 4 pieces, seasonal events only
- Wish-Maker Set — 3 pieces, postgame Jirachi unlock
A complete Skyline Cosmic Set in one room gives 8 pieces × ~10 comfort each + the +5 set bonus = roughly 85 comfort from a single category, which is most of what you need for a Sky Lv5 habitat.
Pokemon Furniture Preferences
Each Pokemon type has furniture preferences. Placing furniture they prefer in their habitat boosts the friendship gain rate.
| Pokemon Type | Preferred Categories | Best Pieces |
|---|---|---|
| Fire | Lighting, Wall Decor | Lava Lamp, Heated Stone Slab, Ember Crystal |
| Water | Lighting, Floor Decor | Sea Glass Lantern, Sea Glass Tile, Wind Chime |
| Grass | Plants, Floor Decor | Time Flower, Wool Rug, Bonsai |
| Rock/Ground | Specialty, Wall Decor | Volcanic Tile, Heatran Plaque, Carved Chest |
| Flying/Sky | Lighting, Specialty | Star Lantern, Wind Catcher, Cloud Cushion |
| Psychic | Wall Decor, Specialty | Prism Mirror, Moonstone Pedestal, Cosmic Tile |
| Bug | Plants, Floor Decor | Potted Plant, Flower Vase, Wool Rug |
| Steel | Wall Decor, Storage | Carved Chest, Tapestry, Ornate Chest |
Mismatching reduces friendship gain. A Fire-type in a habitat with mostly Water-aligned decorations will visit but not befriend, no matter how high the comfort score is. This is why the legendary guide emphasizes aligned decoration choices.
Furniture-Related Achievements
Pokopia tracks several furniture-tied achievements:
- First Decorator — place 10 furniture pieces total
- Furniture Maker — place 100 pieces total
- Set Collector — complete one full furniture set
- Master Decorator — complete all 6 major sets
- Specialty Builder — place all 6 specialty items
- Cosmic Architect — complete the full Skyline Cosmic Set in a Sky Lv5 habitat
Some of these unlock during the achievements completion guide progression naturally; others require deliberate effort. Master Decorator alone takes 35-40 hours of in-game crafting once unlocked.
Common Furniture Mistakes
- Counting crafting stations as furniture — they do not count toward the Furniture-Maker achievement.
- Mixing set styles in legendary habitats — set bonus only applies to single-set rooms.
- Not placing the Thunder Rod for Rayquaza — it is a specialty furniture, not a tool.
- Filling rooms with seating — comfort caps at 6 seating pieces per room.
- Skipping seasonal furniture — the Festival Set is missable; see our missables checklist.
How to Reach 90 Comfort (Rayquaza Target)
Rayquaza’s habitat needs 90 comfort, which is the highest target in the game. The cleanest build uses:
- 1 Crystal Spire Perch (+20)
- 3 Storm Crystals (+36 total, capped)
- 4 Star Lanterns (+32 total, capped)
- 6 Cloud Cushions (+30 total, capped)
- 4 Wind Catchers (+12 total)
- Skyline Cosmic Set bonus (+5)
That math hits 95-98 comfort if all set pieces are present. Drop 1-2 cushions if you want exactly 90.
For full Rayquaza requirements see our Rayquaza guide.
FAQ
What counts as furniture in Pokemon Pokopia? Furniture in Pokopia includes any decoration item that contributes to comfort scoring or matches a furniture-aligned achievement category. This means seating, beds, tables, lighting, storage, decor, plants, and rugs — but not crafting stations, basic tools, or character cosmetics.
How many furniture categories are there in Pokopia? Pokopia has 9 main furniture categories: Seating, Beds, Tables, Lighting, Storage, Wall Decor, Floor Decor, Plants, and Specialty. Each category contributes differently to comfort scoring and specialty bonuses.
What furniture do Pokemon prefer in Pokopia? Each Pokemon type has furniture preferences tied to their habitat. Fire-types prefer Heated Stone Slabs and Lava Lamps. Water-types prefer Sea Glass Lanterns and Coral Decor. Sky-types prefer Star Lanterns and Cloud Cushions.
Are furniture sets better than mixed furniture in Pokopia? Yes. Furniture sets — pieces from the same crafted collection — give a +5 comfort bonus when 3+ pieces are in the same room. Mixing styles works but loses the set bonus.
What is the highest comfort furniture in Pokopia? The Crystal Spire Perch and Moonstone Pedestal tie for highest single-piece comfort at +20 each, but they are restricted to Sky habitats. For general use, the Heated Stone Slab Plus and the Cosmic Tile Set give the best per-piece values.