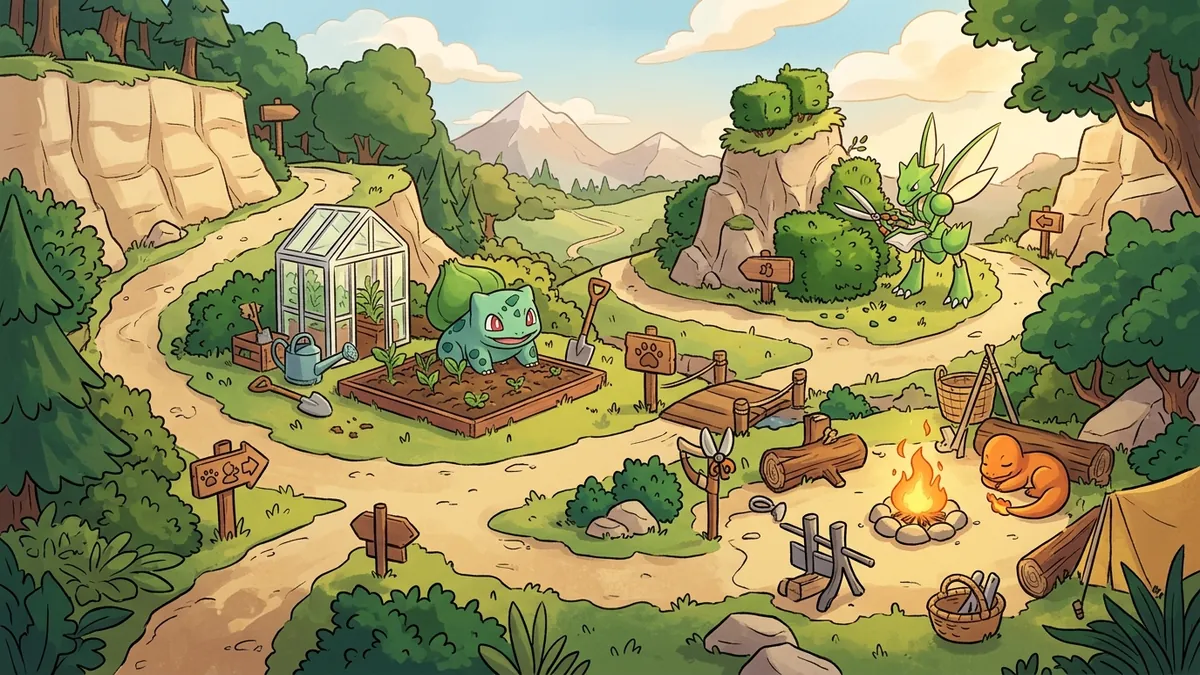
Weather in Pokemon Pokopia is not just background scenery. Rain and sunshine directly affect which Pokemon appear in your areas, how fast crops grow, and what crafting bonuses you receive. The catch is that weather does not change on its own — you have to trigger it manually using Castform Weather Charms.
The system is simple once you understand it, but the game does a poor job of explaining the setup. You need two Charms, the right Pokemon Specialty, and the correct plated food item. Miss any piece and nothing happens. This guide walks through every step of setting up Rain Dance and Sunny Day, where to find Charms, which Pokemon only appear during specific weather, and how to use weather to supercharge your farming output. For the full breakdown of Pokemon locations across all conditions, check our all Pokemon locations guide.
How the Weather System Works
Pokopia uses a manual weather system tied to Castform Weather Charms. Unlike most Pokemon games where weather changes randomly or by route, Pokopia puts you in full control. Each area starts with neutral weather (partly cloudy), and it stays that way until you actively change it.
To trigger a weather change, you need three things at the same site:
- 2 Castform Weather Charms — Both must be flipped to the same weather type
- A matching Specialty Pokemon — Water Specialty for rain, Burn Specialty for sun
- The right plated food — Water Plate food for rain, Fire Plate food for sun
When all three conditions are met, the weather shifts within about 30 seconds. Rain starts falling or the sun intensifies, and weather-exclusive Pokemon begin appearing in the area. The effect lasts until you remove or flip the Charms.
Where to Find Castform Weather Charms
Your first two Castform Weather Charms come from the main story in the Withered Wasteland. You receive them after completing the early restoration request that introduces the weather mechanic. After that, additional Charms are scattered throughout the game.
Here is every source:
| Source | When Available | Number of Charms |
|---|---|---|
| Withered Wasteland story quest | Early game (first area) | 2 |
| Bleak Beach PC terminal shop | After rebuilding Bleak Beach Pokemon Center | 2 |
| Rocky Ridges story reward | After completing the Rocky Ridges area quest | 1 |
| Sparkling Skylands PC terminal | After rebuilding Sparkling Skylands Pokemon Center | 2 |
| Dream Island runs (random drops) | Anytime after unlocking Dream Islands | Random (rare) |
| Certain general requests | Various | 1 each |
You do not need a huge stockpile. Two Charms per weather site is the maximum the system uses — placing a third at the same location does nothing extra. However, having multiple pairs lets you set up weather in different areas simultaneously.
Dream Islands are the main renewable source for extra Charms. If you are farming Dream Island runs regularly, you will pick up spares over time. Our farming guide covers crop optimization that pairs well with weather bonuses.
Setting Up Rain Dance — Step by Step
Rain Dance requires Water-aligned Charms and a Water Specialty Pokemon. Here is the full setup:
Step 1: Choose your rain site. Pick an area where you want rain. The weather effect covers roughly a 50-block radius from the Charm location, so place them centrally.
Step 2: Place 2 Castform Weather Charms. Open your inventory, select a Charm, and place it on the ground. Place the second Charm within 5 blocks of the first. They need to be close together to link.
Step 3: Flip both Charms to Rain. Interact with each Charm and select the Rain setting. Both Charms must show the raindrop icon. If one shows sun and the other shows rain, nothing happens — they must match.
Step 4: Place Water Plate food nearby. Craft or buy any food item that uses a Water Plate ingredient. Place it on a table or feeding station within 10 blocks of the Charms. Common options include Splash Stew, Rain Pudding, and Aqua Salad.
Step 5: Have a Water Specialty Pokemon in the area. At least one befriended Pokemon with the Water Specialty must be living in a habitat within the same area. Squirtle, Piplup, Psyduck, and Vaporeon all have Water Specialty.
Once all conditions are met, rain starts falling. You will see the Charms glow blue and a notification appears confirming Rain Dance is active.
Setting Up Sunny Day — Step by Step
Sunny Day follows the same structure but with fire-aligned components.
Step 1: Choose your sunny site. Same radius rules as rain — about 50 blocks from the Charms.
Step 2: Place 2 Castform Weather Charms. They can be the same Charms you used for rain if you flip them. You do not need separate physical Charms for each weather type.
Step 3: Flip both Charms to Sun. Interact and select the Sun setting on each Charm. Both must show the sun icon.
Step 4: Place Fire Plate food nearby. Use food crafted with Fire Plate ingredients. Options include Ember Toast, Solar Berry Jam, and Flame Roast. Place it within 10 blocks.
Step 5: Have a Burn Specialty Pokemon in the area. Charmander, Torchic, Scorbunny, Growlithe, and Vulpix all carry the Burn Specialty. At least one must live in the area.
Sun intensifies and the Charms glow orange. Sunny Day is now active.
Switching Between Rain and Sun
You can swap weather at any time by flipping your Charms. You do not need to remove them and start over.
- Interact with each Charm and switch it to the opposite weather type.
- Swap the plated food to match the new weather.
- Make sure you have the right Specialty Pokemon for the new weather (or add one to the area).
The transition takes about 30 seconds. During the switch, weather goes neutral briefly before the new condition kicks in. Weather-exclusive Pokemon from the previous condition will wander off once the weather changes — they do not vanish instantly, but they stop spawning and eventually leave.
Rain-Exclusive Pokemon
These Pokemon only appear in areas where Rain Dance is active. You cannot find them under any other weather condition.
| Pokemon | Type | Area | Notes |
|---|---|---|---|
| Lotad | Water/Grass | Withered Wasteland | Common in rain, appears near ponds |
| Surskit | Bug/Water | Bleak Beach | Spawns on water surfaces |
| Castform (Rain Form) | Water | Any area with rain | Transforms automatically in rain |
| Goodra | Dragon | Rocky Ridges | Rare spawn, needs heavy rain (2+ hours active) |
| Ludicolo | Water/Grass | Withered Wasteland | Evolves from Lombre, which needs rain to appear |
| Poliwag | Water | Bleak Beach | Common, found near river edges |
| Wingull | Water/Flying | Bleak Beach | Spawns along coastlines during rain |
| Sliggoo | Dragon | Rocky Ridges | Uncommon, appears after Goodra habitat built |
| Tympole | Water | Withered Wasteland | Found in shallow water during rain |
| Shellos (East Sea) | Water | Sparkling Skylands | Rain-only variant |
If you are working on your Pokedex and notice gaps in your Water-type collection, chances are those missing Pokemon require rain. Our complete Pokedex guide flags weather requirements for every species.
Sun-Exclusive Pokemon
These Pokemon only appear when Sunny Day is active in the area.
| Pokemon | Type | Area | Notes |
|---|---|---|---|
| Cherrim (Sunshine Form) | Grass | Withered Wasteland | Transforms in sun, very common |
| Sunflora | Grass | Withered Wasteland | Evolves from Sunkern during sunny weather |
| Castform (Sun Form) | Fire | Any area with sun | Transforms automatically |
| Torkoal | Fire | Rocky Ridges | Uncommon, prefers rocky terrain in sun |
| Cherubi | Grass | Withered Wasteland | Common, found near flowers in sun |
| Heliolisk | Electric/Normal | Sparkling Skylands | Evolves from Helioptile during sun |
| Helioptile | Electric/Normal | Sparkling Skylands | Common in sunny conditions |
| Tropius | Grass/Flying | Bleak Beach | Rare, needs 1+ hour of active sun |
| Lilligant | Grass | Bleak Beach | Found near garden habitats in sun |
| Volcarona | Bug/Fire | Rocky Ridges | Very rare, needs sun + fire habitat |
Volcarona is one of the rarest Pokemon in the game. Getting it to appear requires Sunny Day active for several hours, a fully upgraded fire habitat, and a Burn Specialty Pokemon with high Comfort Level in the same area. If you are hunting rare species, patience and the right setup are everything.
Weather Effects on Farming
Weather changes are not just about Pokemon collection. Rain and sun both affect your crop yields and crafting in meaningful ways.
Rain Benefits
- Water crops grow 25% faster. Anything that normally needs watering benefits from constant rain.
- No manual watering needed. Rain acts as automatic irrigation across the entire affected area.
- Water resource regeneration. Ponds and streams refill faster, and fishing yields increase slightly.
- Mud blocks appear. Some rain-only crafting materials like Wet Clay only generate during active rain.
Sun Benefits
- Fire fruit and berries grow 20% faster. Heat-loving crops like Tamato Berry and Figy Berry thrive.
- Furnace smelting speed boost. Furnaces within the Sunny Day radius smelt items faster.
- Dried materials appear. Sun-only materials like Dried Bamboo and Sun-Baked Clay generate during active sun.
- Solar energy items charge. Certain late-game items and structures charge passively in sunlight.
For players focused on maximizing farm output, alternating between rain and sun on a schedule gives you the best of both worlds. Run rain for a day or two to boost water crops, then switch to sun for fire fruits. Over time, this rotation keeps all crop types growing at peak speed. Our farming guide has detailed crop timing charts that factor in weather bonuses.
Weather and Environment Level
Weather contributes to your area’s Environment Level. Having active weather — either rain or sun — adds a small but consistent bonus to the environmental score. The game rewards variety, so areas that have experienced both weather types score slightly higher than areas stuck on one.
Additionally, weather-exclusive Pokemon that move into your habitats count toward the total Pokemon population of the area, which is one of the three main factors in Environment Level calculation. If you want to push past Level 5 toward the Level 10 maximum, you need the weather-exclusive species in your roster.
Troubleshooting Common Weather Problems
If your weather setup is not working, check these common issues:
Charms are not matching. Both Charms must show the same weather icon. If one shows rain and the other shows sun (or neutral), no weather change triggers. Interact with each Charm individually and verify.
No Specialty Pokemon in the area. This is the most common mistake. You have the Charms and food set up correctly, but there is no Water or Burn Specialty Pokemon living in the area. Check your Pokemon roster for that specific zone.
Food is out of range. The plated food must be within 10 blocks of the Charms. If it is too far, the system does not link them. Move the food closer.
Charms are too far apart. The two Charms must be within 5 blocks of each other. Place them side by side for the most reliable connection.
Wrong food type. Regular food does not trigger weather. You need food specifically crafted with a Water Plate or Fire Plate ingredient. Check the recipe to confirm it uses the right plate. Our all recipes guide lists which foods use which plates.
Conflicting weather in overlapping zones. If two weather setups overlap (one for rain, one for sun), neither activates. Make sure your weather zones do not intersect.
Advanced Weather Strategies
Once you have the basics down, these strategies help you get more out of the weather system.
Dedicated weather zones. Instead of switching weather across your whole area, set up two separate zones — one permanently on rain, one permanently on sun. This requires enough Charms for both setups (4 total) and two Specialty Pokemon, but it means you always have access to both weather-exclusive Pokemon and farming bonuses.
Weather rotation schedules. If you only have one pair of Charms, switch weather every 2-3 in-game days. This keeps both rain and sun Pokemon spawning regularly and balances your crop growth.
Stack weather with food buffs. The plated food you place for weather activation also grants a passive buff to nearby Pokemon. Placing high-quality plated food (3-star recipes) boosts Pokemon Comfort Level while maintaining the weather effect.
Weather for Comfort Level grinding. Some Pokemon have weather-related Comfort preferences. Lotad’s Comfort Level increases faster during rain, and Cherrim’s goes up faster in sun. Match weather to the Pokemon you are trying to level up.
FAQ
How do I change the weather in Pokemon Pokopia? Place 2 Castform Weather Charms at a site and flip both to the same weather type. Add the matching plated food (Water Plate food for rain, Fire Plate food for sun) to activate Rain Dance or Sunny Day.
Where do I find Castform Weather Charms? You get your first two Charms during the Withered Wasteland story. Additional Charms can be found in Dream Island runs, PC terminal shops in later areas, and as rewards from certain requests.
How many Castform Charms do I need for weather? You need exactly 2 Castform Weather Charms placed at the same site. One Charm alone is not enough to trigger a weather change.
What Pokemon appear only in rain in Pokopia? Rain-exclusive Pokemon include Lotad, Surskit, Goodra, Castform Rain Form, Ludicolo, and several others. They only appear in areas where Rain Dance is active.
What Pokemon appear only in sunny weather in Pokopia? Sunny-exclusive Pokemon include Cherrim, Sunflora, Castform Sun Form, Torkoal, and others. They require Sunny Day to be active in the area.
Do I need specific Pokemon types for weather to work? Yes. Rain Dance requires at least one Water Specialty Pokemon in the area. Sunny Day requires at least one Burn Specialty Pokemon. Without the right Specialty, the Charms activate but no weather change occurs.
Can I have rain and sun active in the same area? No. Each area supports one weather condition at a time. Setting up Sunny Day in an area that has Rain Dance active will replace the rain with sun.
Does weather affect farming in Pokopia? Yes. Rain boosts water crop growth speed by 25% and reduces the need for manual watering. Sunny weather accelerates fire fruit and berry growth by 20% and speeds up furnace smelting nearby.